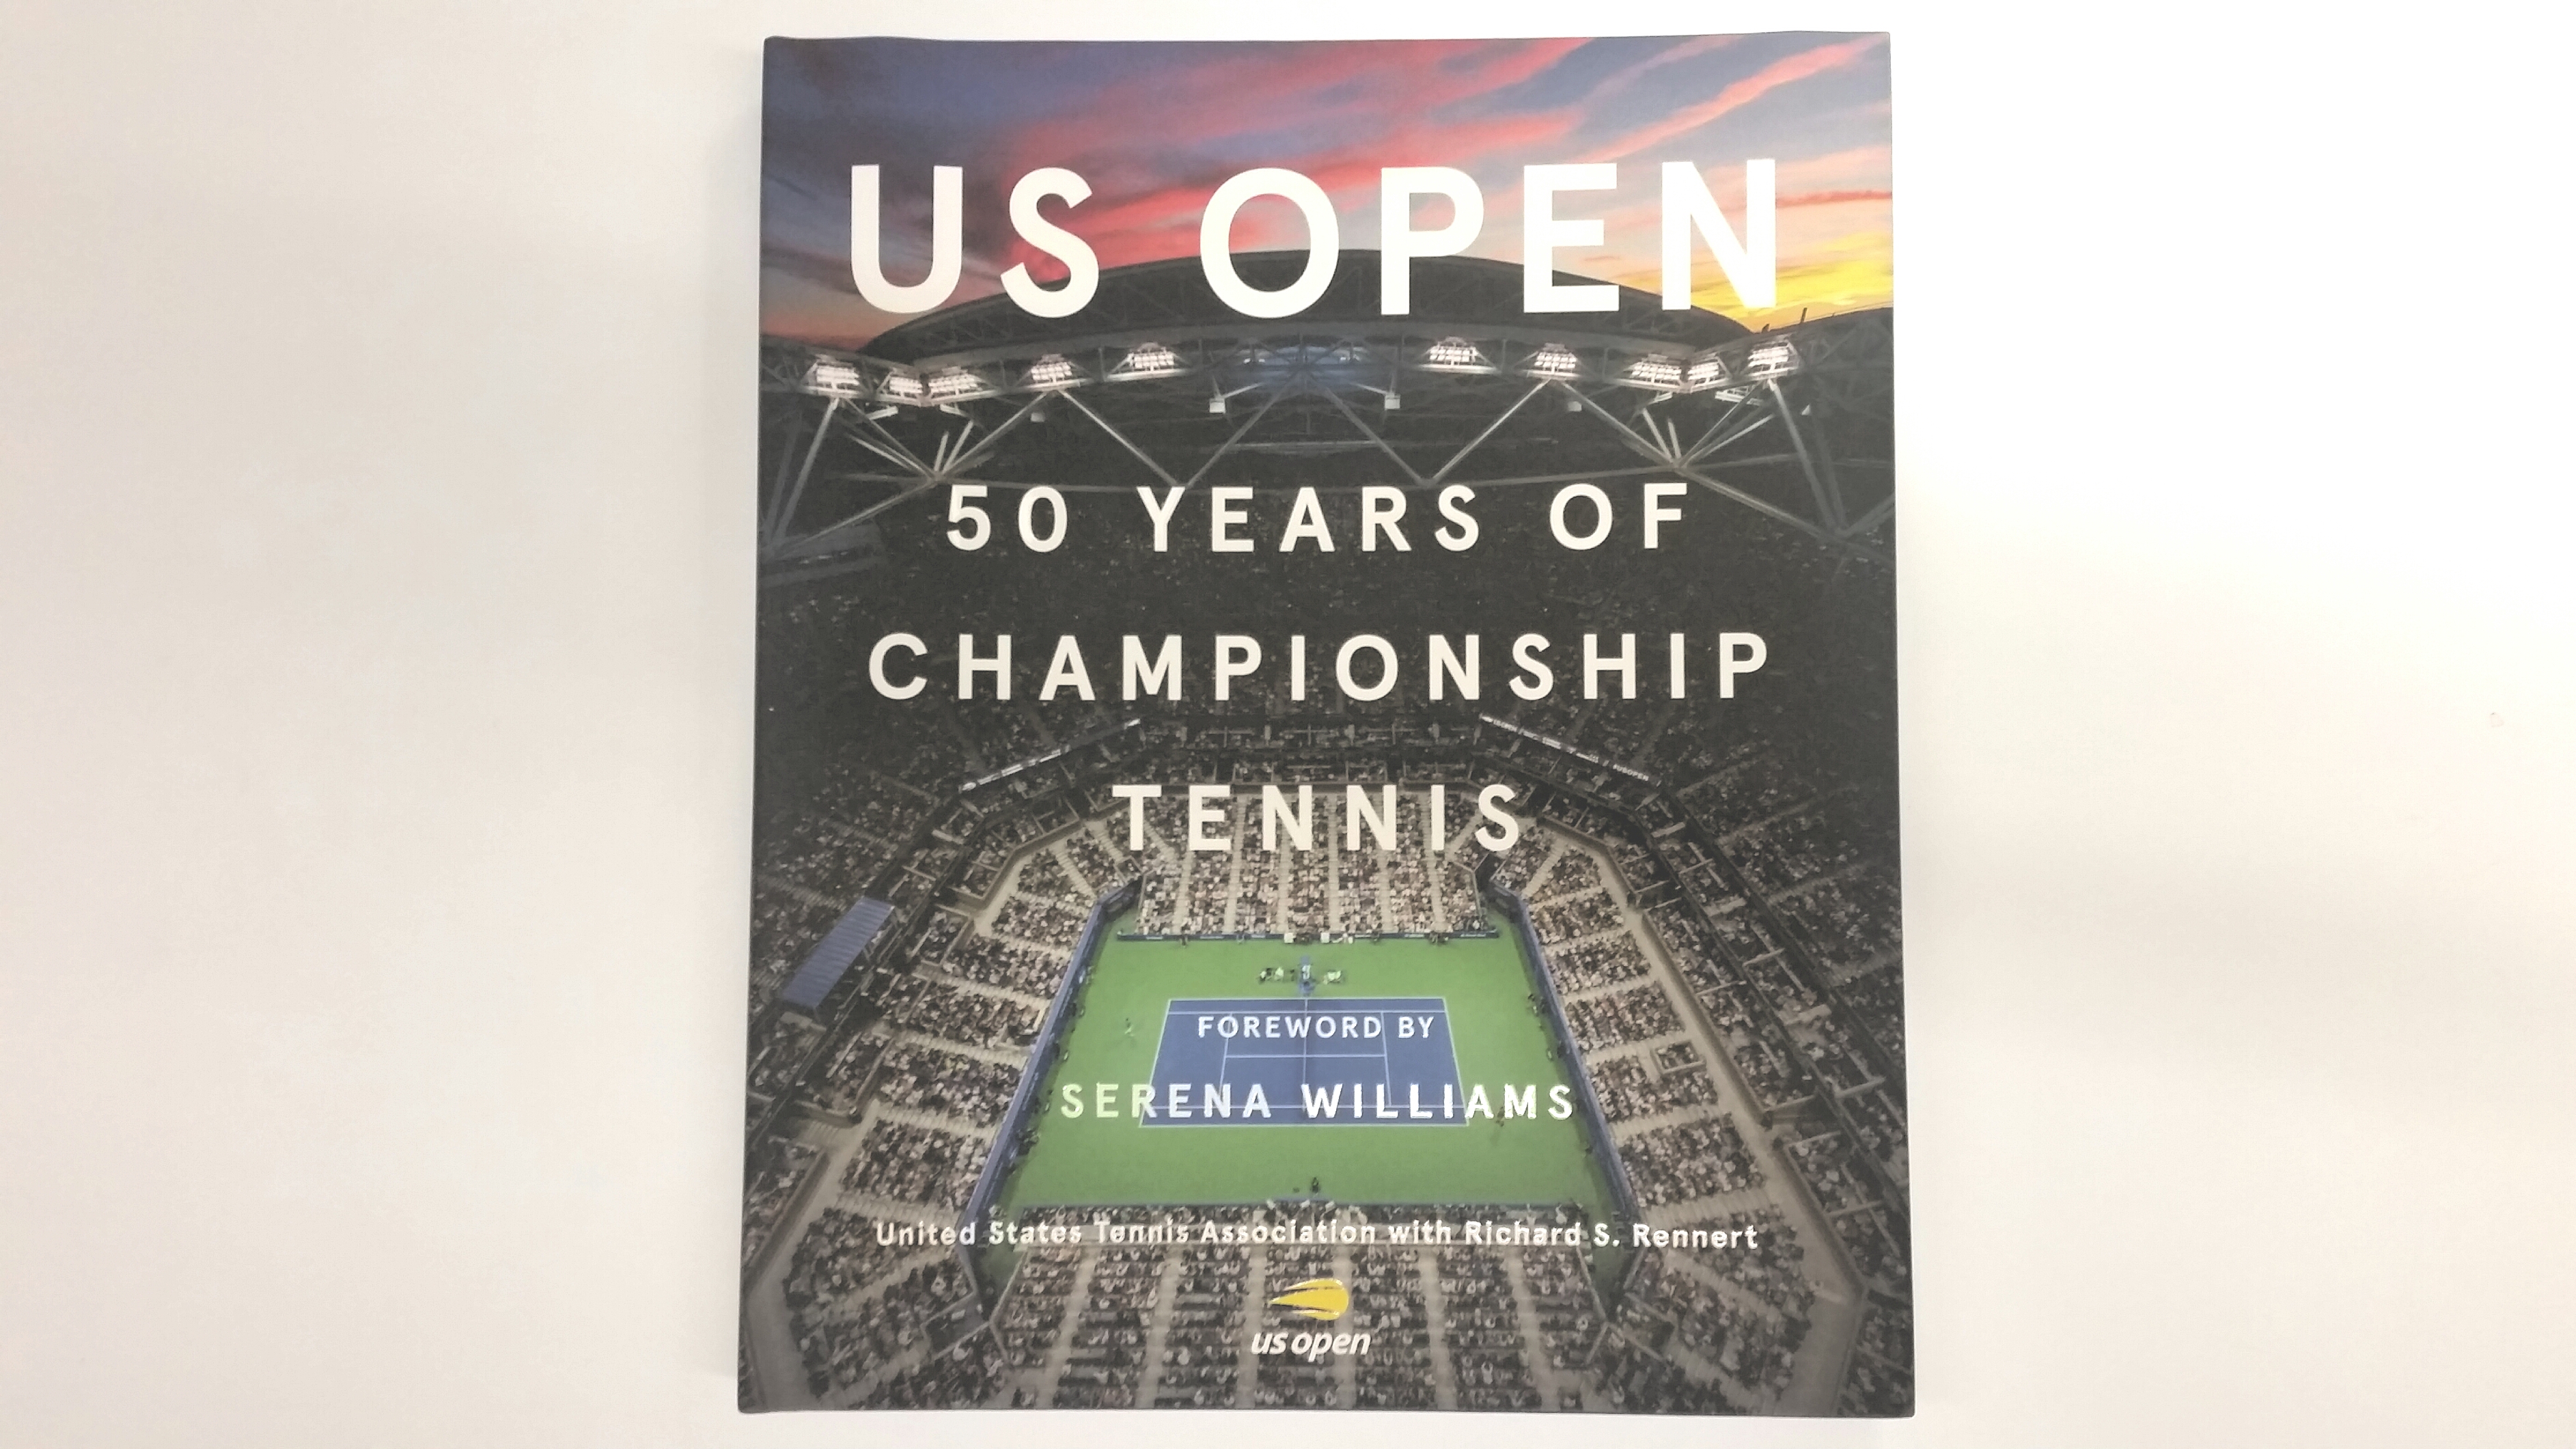
I received my US Open photo credentials through Abrams, my employer and the publisher of the official US Open book, US Open 50 Years of Championship Tennis. When I noted my excited surprise at receiving credentials in this previous blog post, I didn’t mention that I felt genuine pride for the hard work Abrams and the USTA had done publishing the book and the relationship which allowed me the opportunity to attend. Below are recollections from my experience attending the first week and some suggestions for a photographer who might find themselves shooting tennis for the first time. (This page has a ton more of my photos from the Open but without context.)
Preparation
I hadn’t done any tennis photography before let alone any real sports photography (does roller derby or kaiju wrestling count?). So I began to prepare for photographing the US Open by searching for any recommendations / tips. I was only able to find one useful article (this post by Scott Kelby). But, despite some valuable information contained in that article, I knew I would learn the most directly on-site.
Before I could begin, I had to address my equipment to some degree. If I were to only have the Canon 5D Mark IV and the lenses I own, I would still need a few items ahead of the tournament. So I bought a couple of extra 64 GB compactflash memory cards, a spare battery and a monopod.
Sports/music photographer Mark Brown had some great monopod tips, so I took the plunge and I picked up an expensive Gitzo branded monopod (this is the pro Manfrotto line). I wanted one strong enough to hold 13+ pounds of gear, compact enough to keep within my messenger bag, and highly rated enough that I wouldn’t have to buy another monopod again (the one I already owned only had 6 pound capacity). I did experience some user issues with the monopod and actually ended up not using it as much (more on that later) as other photogs but it was worth having.
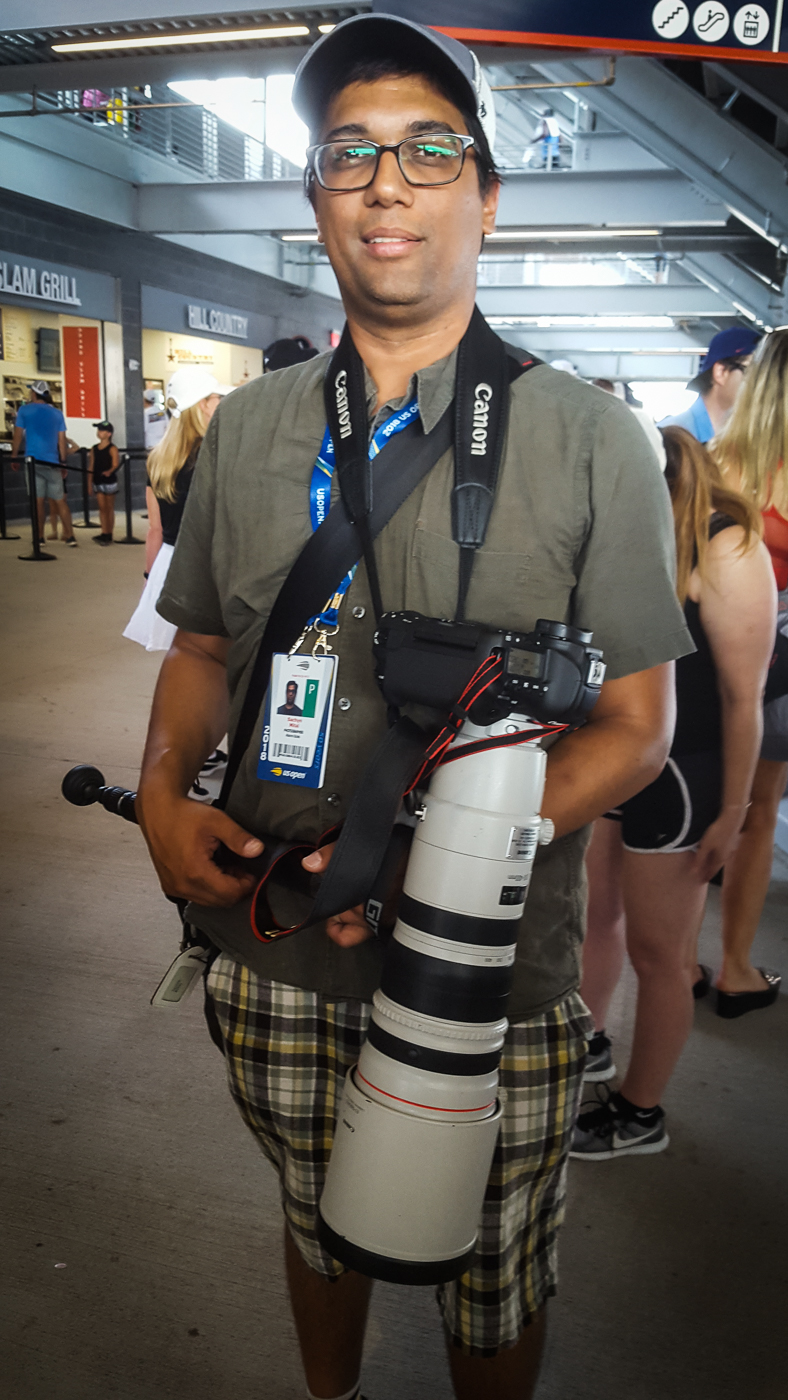
Fortunately, I didn’t depend solely on the 5D. The gear I primarily used was loaned to me from Canon. I decided to splurge and go up from Canon CPS’s Gold tier to the Platinum level on a whim when I renewed this year. After I borrowed a 400mm f2.8 for Taylor Swift in July, I inquired about borrowing gear for the tournament. Canon’s US Open liason, the kind photographer Tony Kurdzuk, responded to my inquiries thoroughly and shared a few tips. As I made my request a month or more before the Open, Canon would be able to to have gear specifically for me on-site.
Tony’s favorite lens is the 200mm f2.0, (presumably) because of the separation it gives a player from the crowd but he noted the 200-400mm f4.0 with 1.4x extender built-in was more popular. I favor zoom lenses over prime ones for concerts (and as such am less comfortable with primes) so I requested the latter.
And lo-and-behold, there I was at the Open with a Canon 1DX Mark II body and the 200-400mm f4.0 lens. I did utilize my 70-200mm f2.8, so I got to see the difference in depth of field, but that lens alone couldn’t go the distance on Arthur Ashe. I could see myself using shorter prime lenses (f2.8 or larger) on some of the smaller courts however.
The Learning Curve
Tennis photography felt a bit less of a challenge than concert photography. Not to say it is easy to get a great tennis photo (I don’t know if I did) but there were several factors that instilled confidence that there was the possibility of getting a good shot. I wasn’t restricted to three songs from a photo pit. I wasn’t working with lights that oscillated or varied in power and temperature. And did I not have to track somewhat unpredictable movements of singers/musicians. I could take photos for the entire length of a match and was not restricted to any particular court by the USTA. With matches running two or three hours at least there was almost too much time to get photos.
Shutter settings – it was essential to use a fast shutter. I would readily say 1/2000th of a second is the minimum speed needed to get action shots but I felt myself more comfortable with a 1/3200th of a second shutter (though I’m not tallying my metadata). This in turn meant I had to bump up the ISO (specifically when indoors and in instances without the sun) so I often started at 3200 ISO and moved up (with the f4.0 lens that went to f5.6 with the extender enabled) from there depending on the court conditions.
Burst shooting – I relied on burst fire more than I do at a concert (thanks 1DX!). I didn’t overuse it (I think at least in comparison to other cameras I heard) but it was essential to lay on the shutter in order to get a ball moving 100 mph in the frame. So there was a far higher percentage of bad photos (when compared to concert photography).
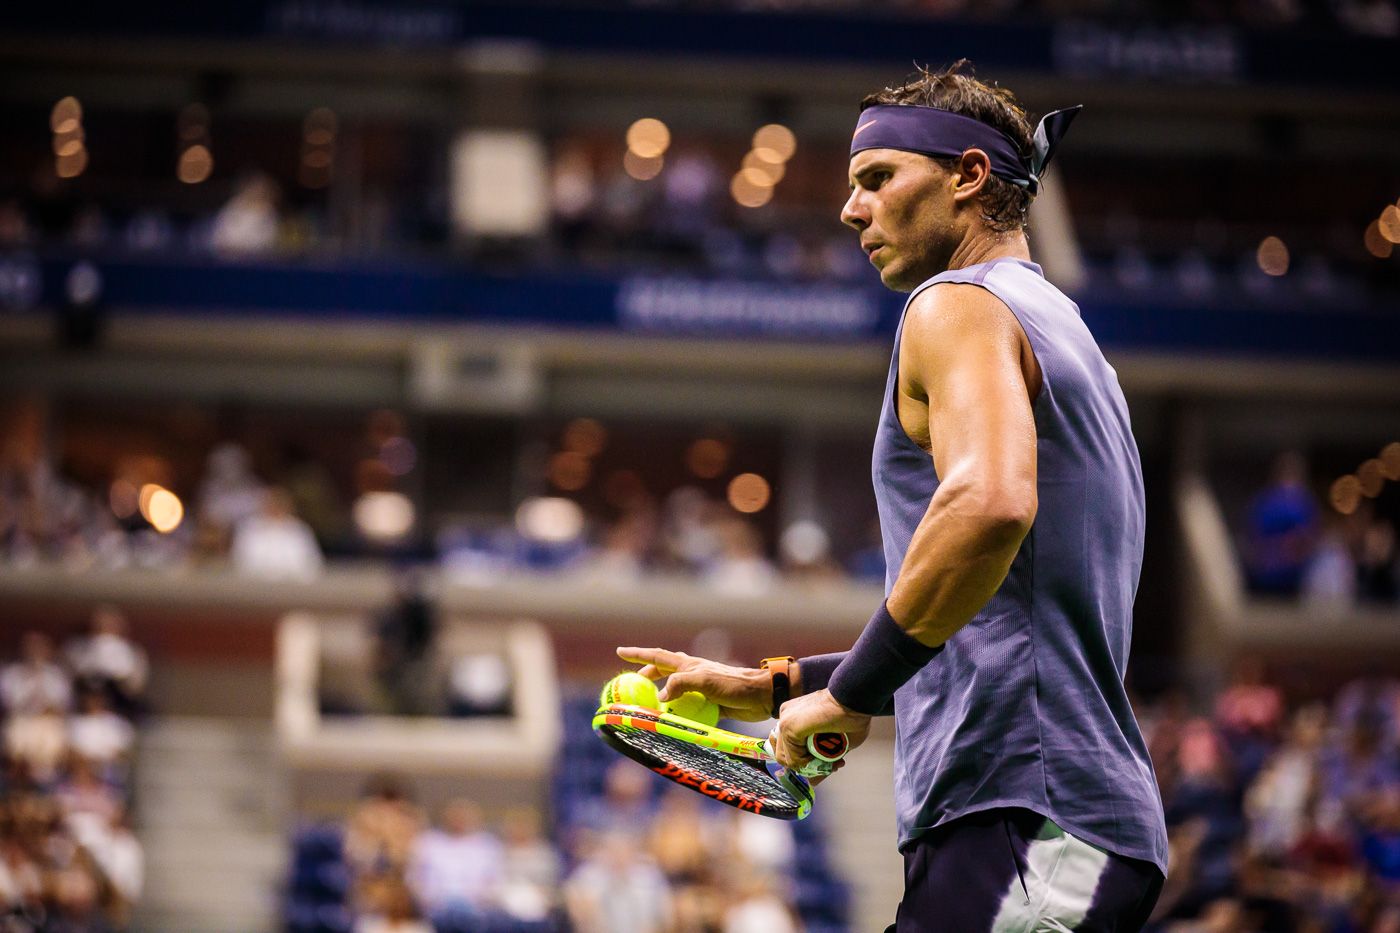
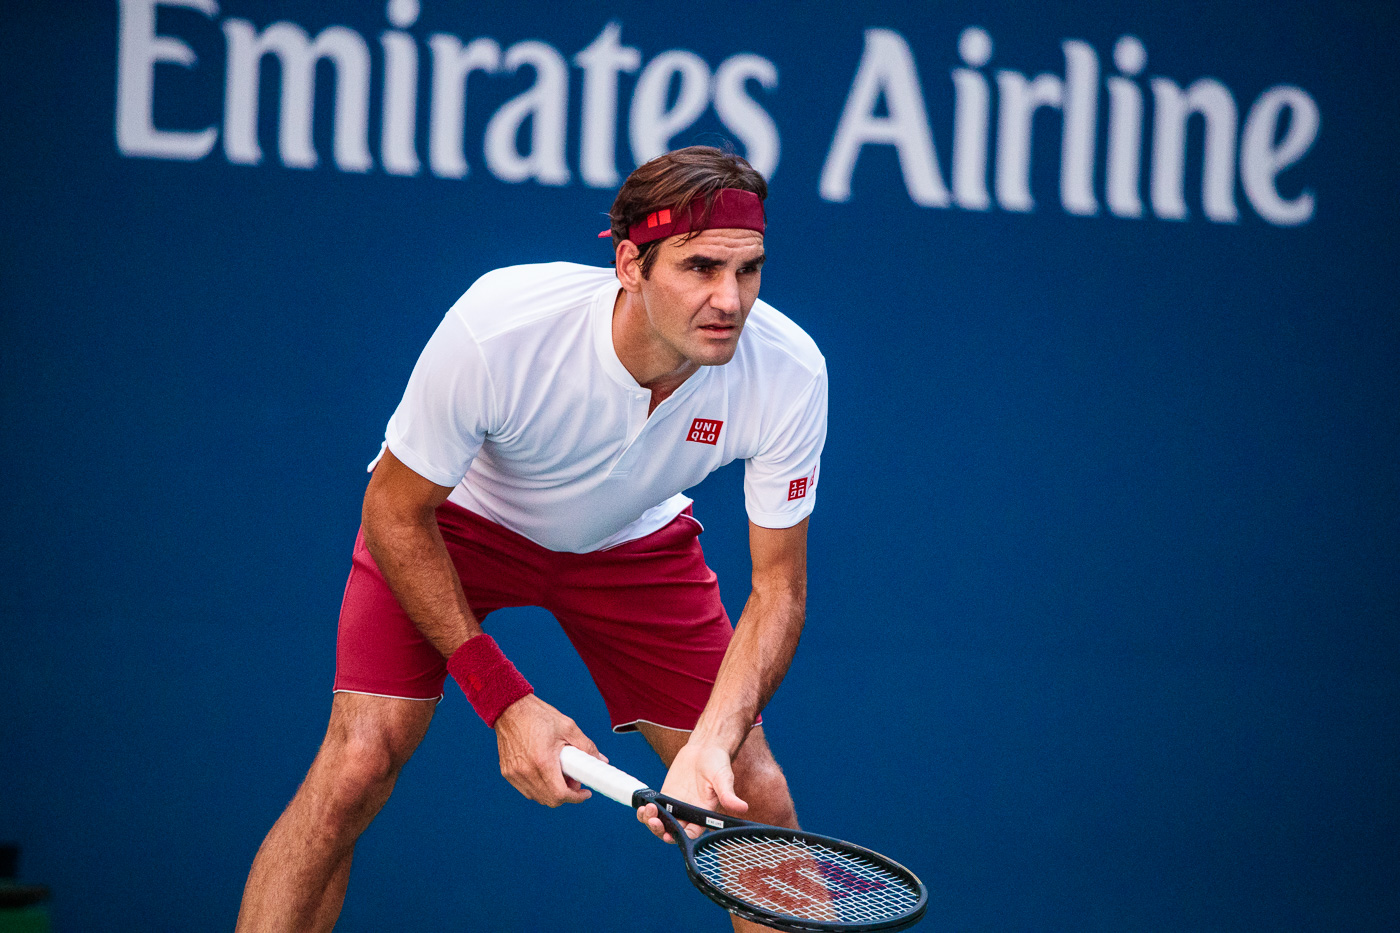
One of the first things I learned was that if the player is swinging their racket on the opposite side of where I was sitting it (probably) wasn’t worth shooting. Sitting in one spot, I got different photo opportunities from (for example) Federer than I did for Nadal (the former is right-handed, the latter left-handed) even though the players switch sides during a set. And I very quickly saw other photogs switched to ends of the photo pit to get different shots of the bigger name playing (at the time). Generally though, photographers are fixed to a spot for a few games when courtside.
Photography Locations
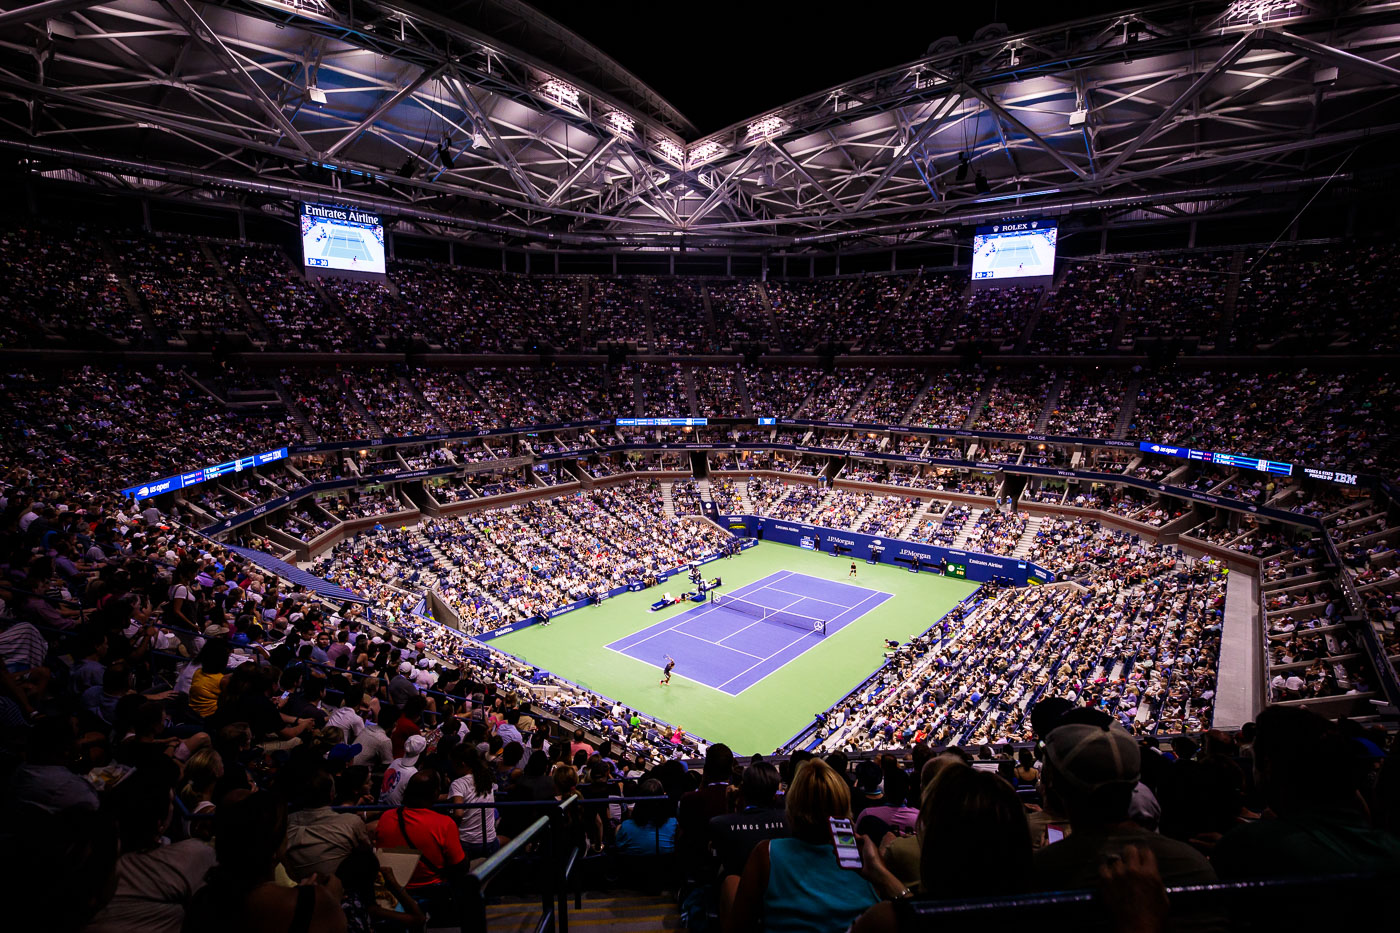
Given the number of tennis courts at the Billie Jean King National Tennis Center, there are many different places to photograph players. I spent a lot of time at Arthur Ashe perhaps because I didn’t have a ton of time at the Open or perhaps because I wanted to watch some of the bigger names with this opportunity.
The photo pit, for lack of a better term, at Arthur Ashe runs alongside the court opposite the umpire. It has two tiers of benches and probably enough space for like 80 photographers if not more. The new Louis Armstrong Stadium also has a photo pit but with one bench tier.
At Ashe, there are photo wells which puts photographers at about eye level with the court, looking directly across to the further player. This way, I could get shots of a player head on, though it was too close to a player on the same side of the court. I don’t believe there were any other courts with wells.
Then, in Ashe and most of the other courts, there is the ability to shoot from higher up in the seats/stands. I didn’t spend a lot of time there but it would have been worthwhile to spend more time up above since there are some great opportunities to play with the light and dark dynamics. A commendable photographer I met, Mark A. Carruthers, captured this great photo of Federer that has me inspired for the hopeful next go around.
View this post on Instagram
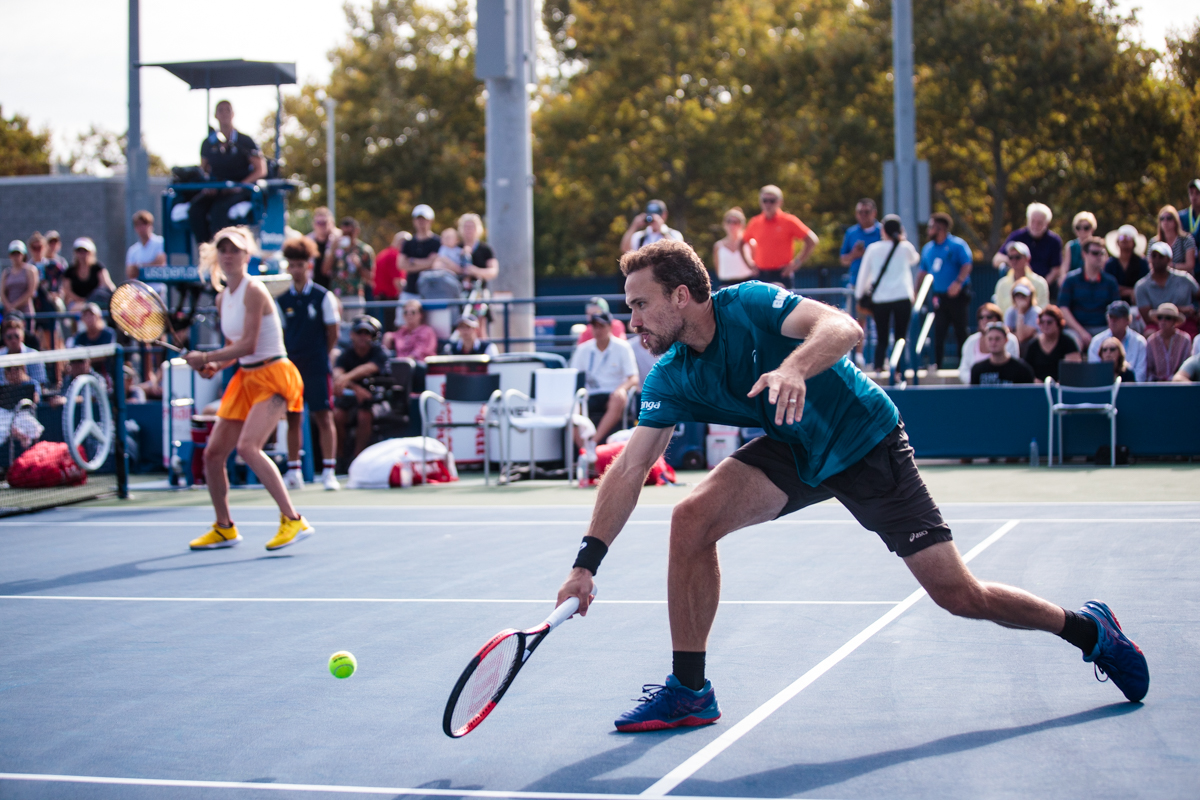
On some of the smaller courts, courts 4-6 from my experience, there are benches on the court from where photogs can work. I only discovered these spots on my second to last day (I think Mark told me about it) but it was really awesome to be so close to the action.
Types of Photos
There may not be official names to the photo styles but I was coming up with names for moments. Some types of shots I considered (though of course there may be others): serve, waiting to return, the swing, victory moment, loss recognition, and mutual appreciation. Then there are the artistic shots where you can play with shadows, color or other composition elements.
Starting at the beginning, the serve shot – not one I got very well because I was courtside a lot of the time. I ended up with a lot of chins and a lot of awkwardly looking arms.
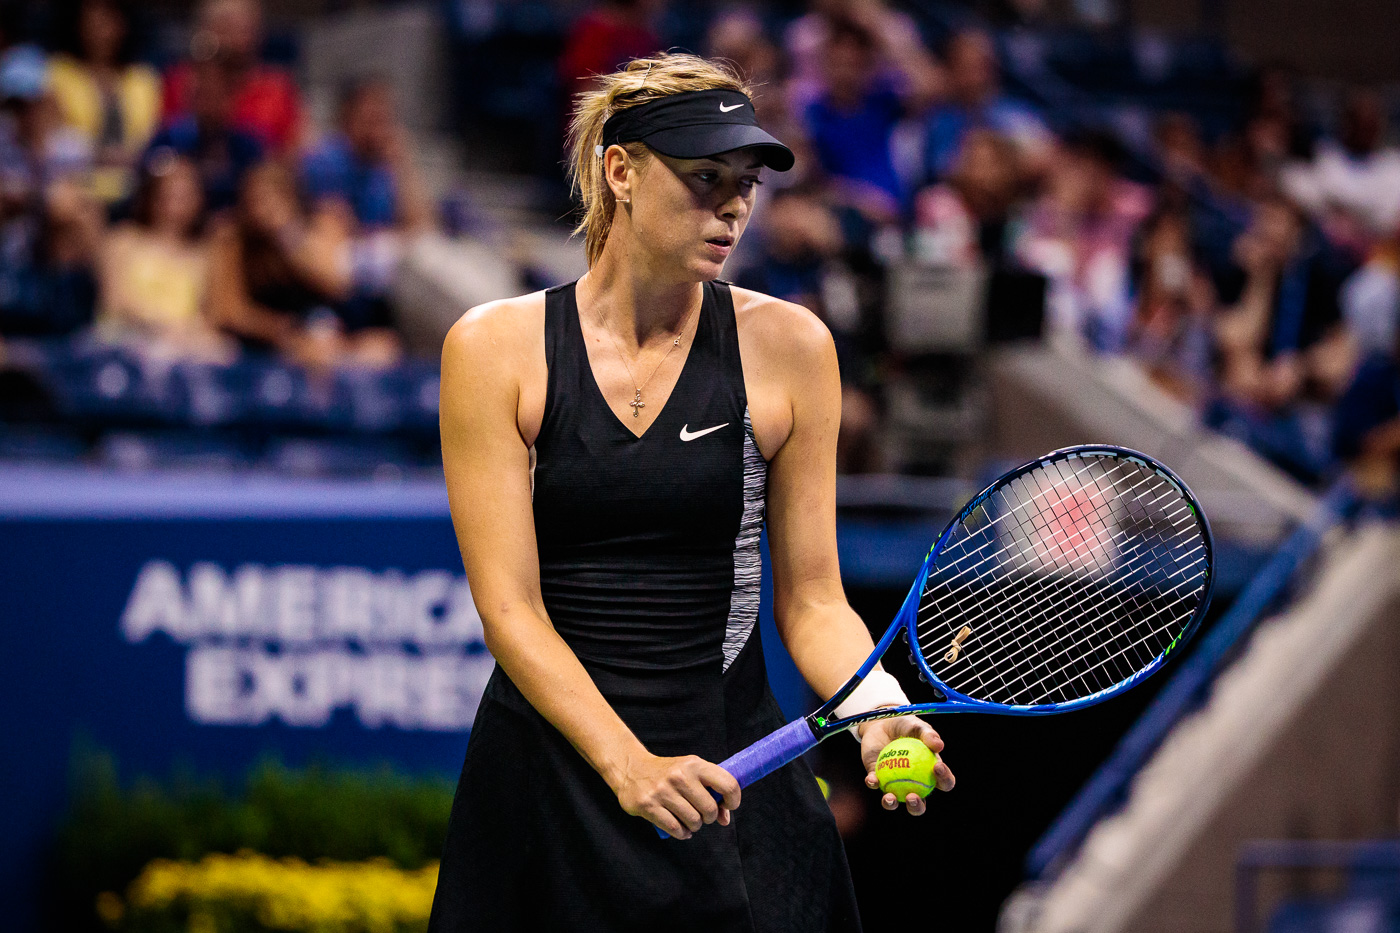
Waiting to return – player standing/pacing, essentially a still shot or a quieter moment.
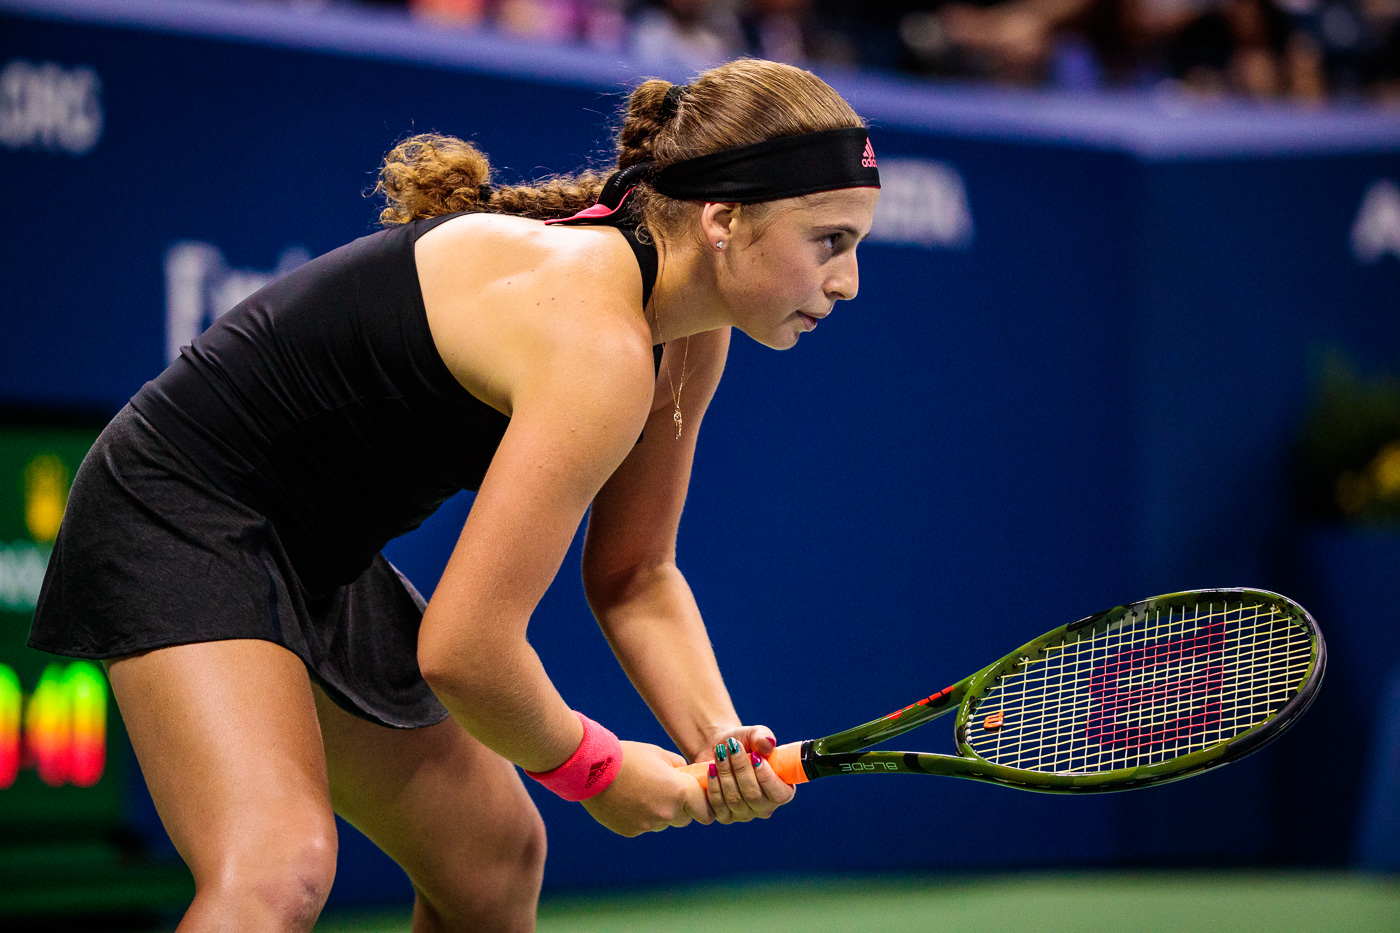
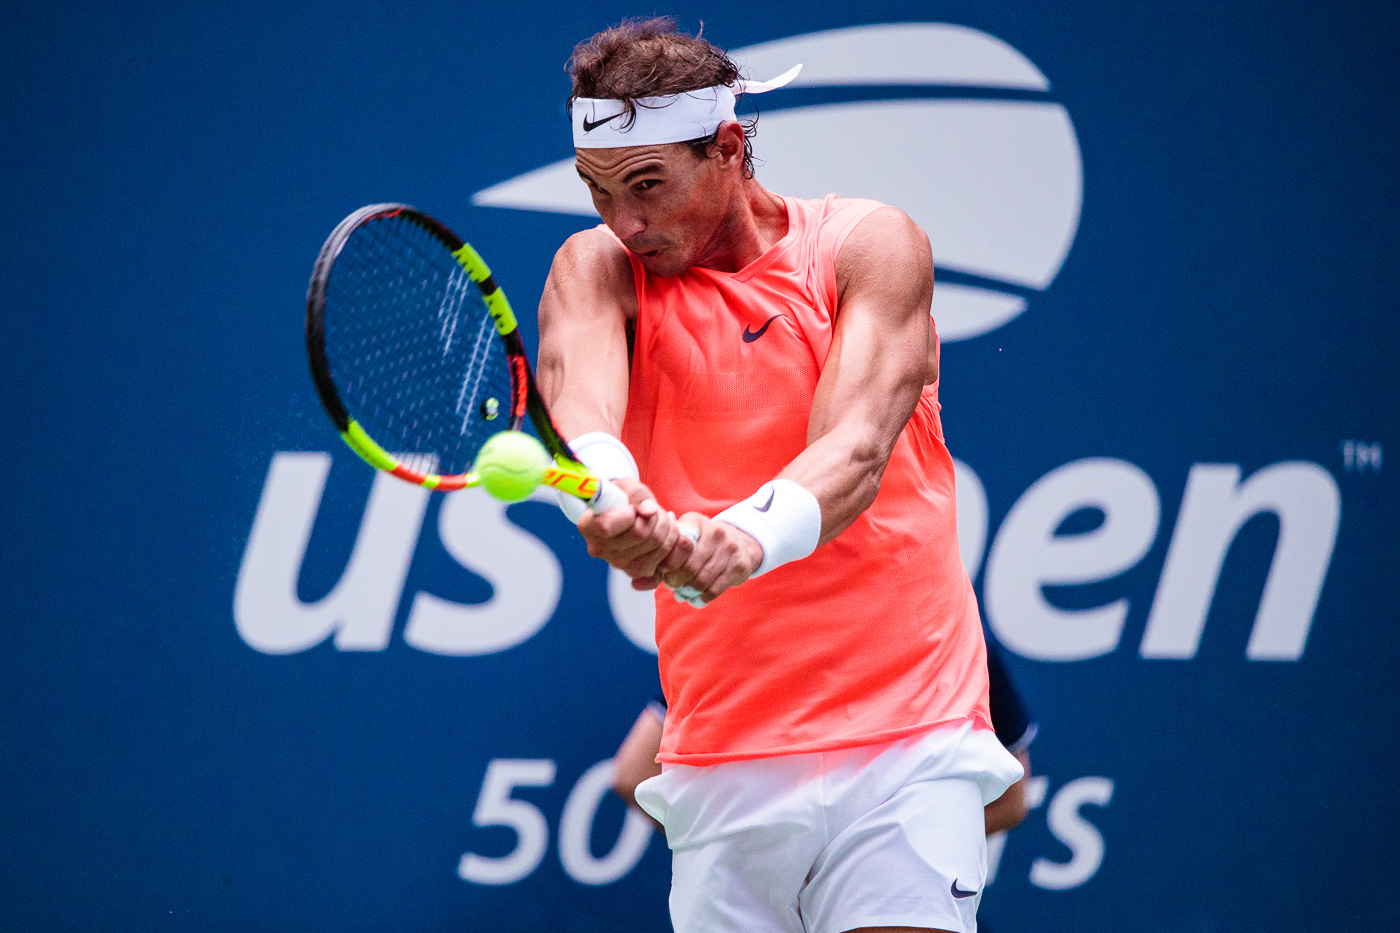
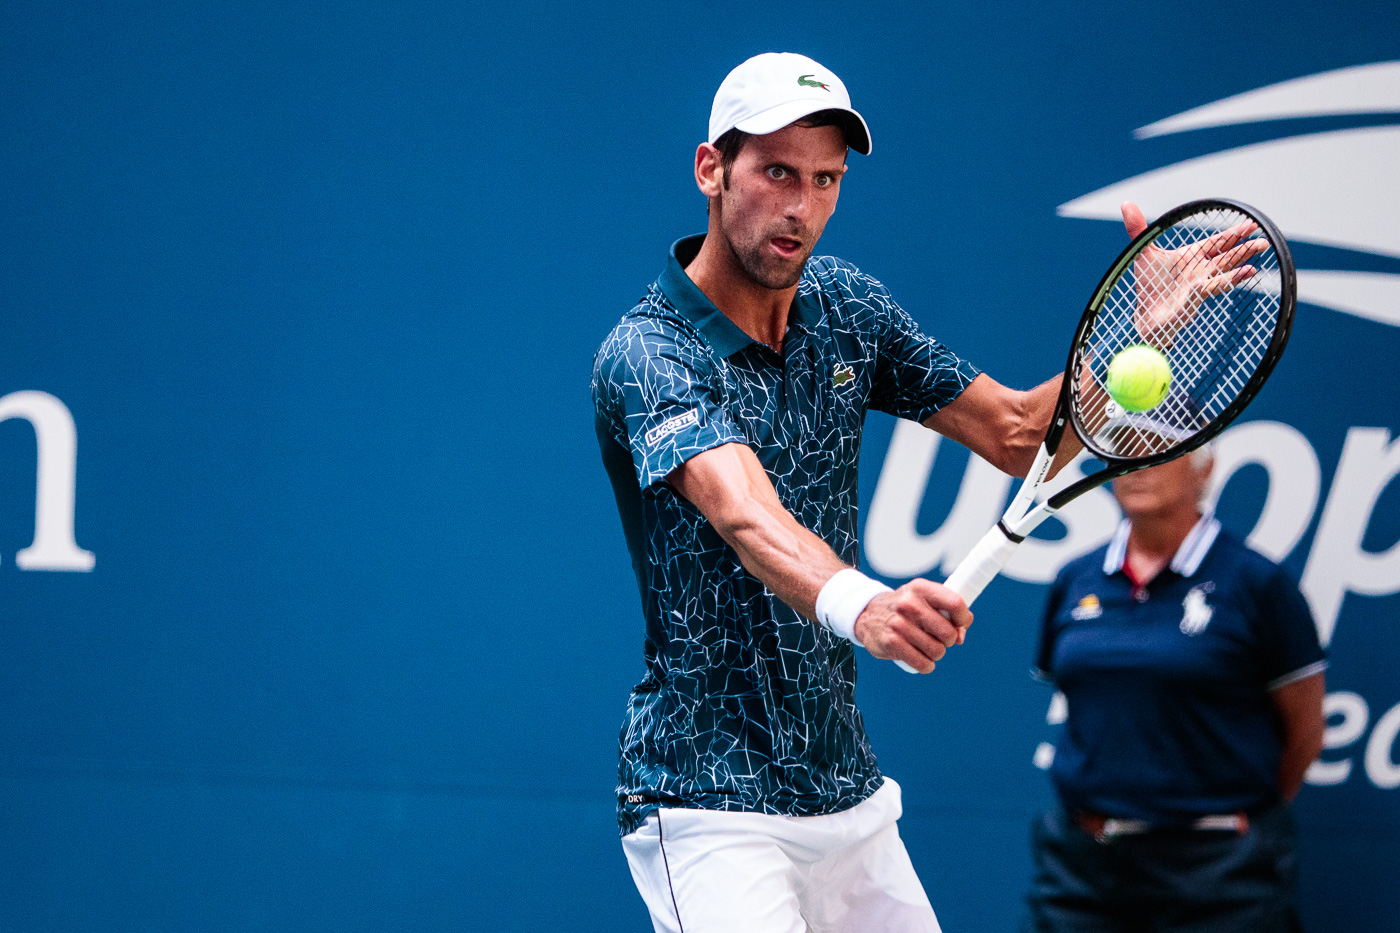
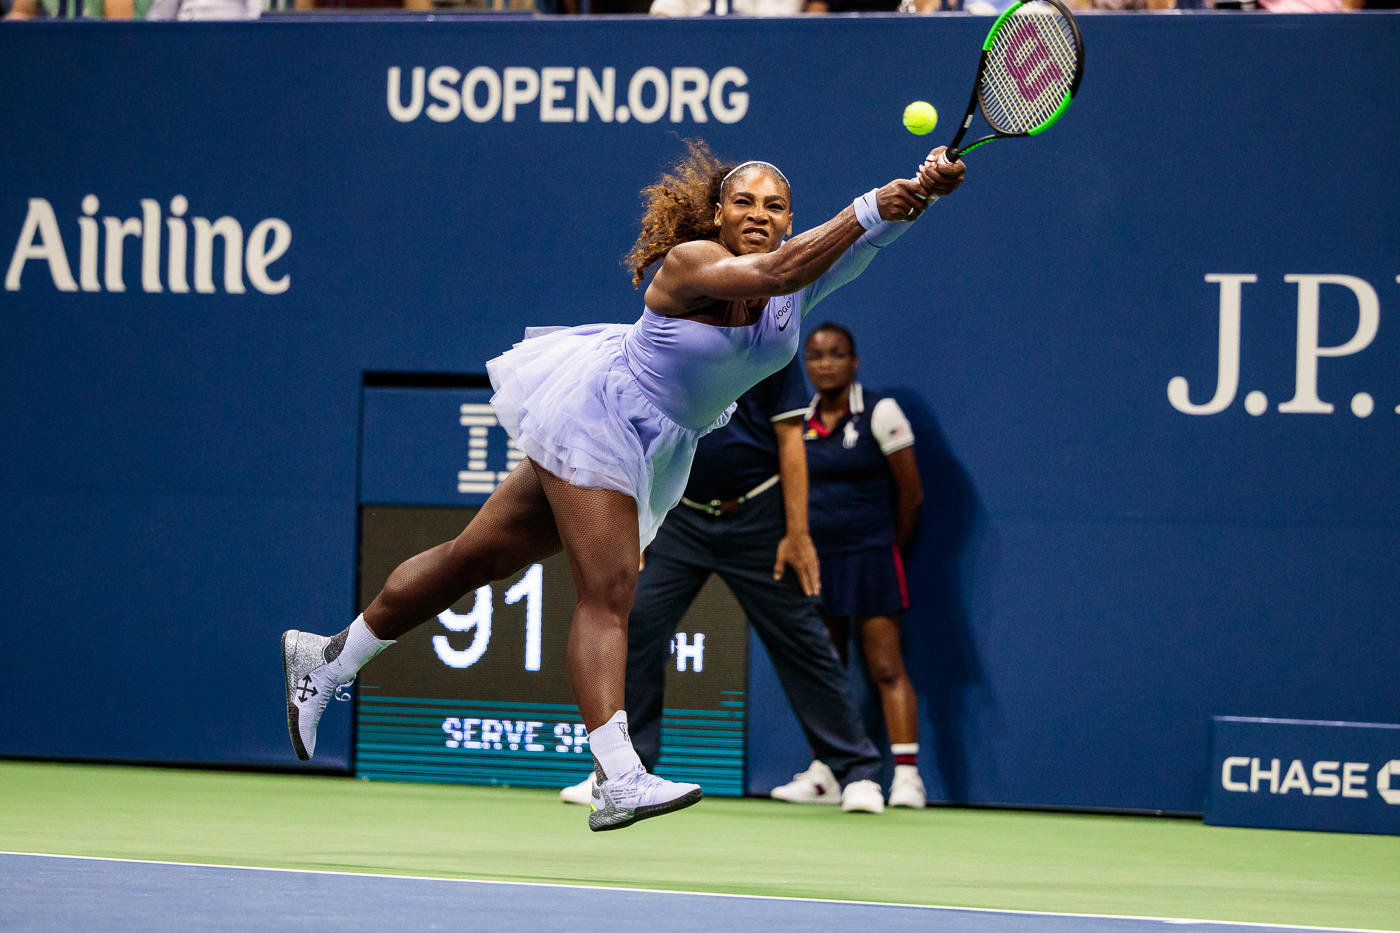
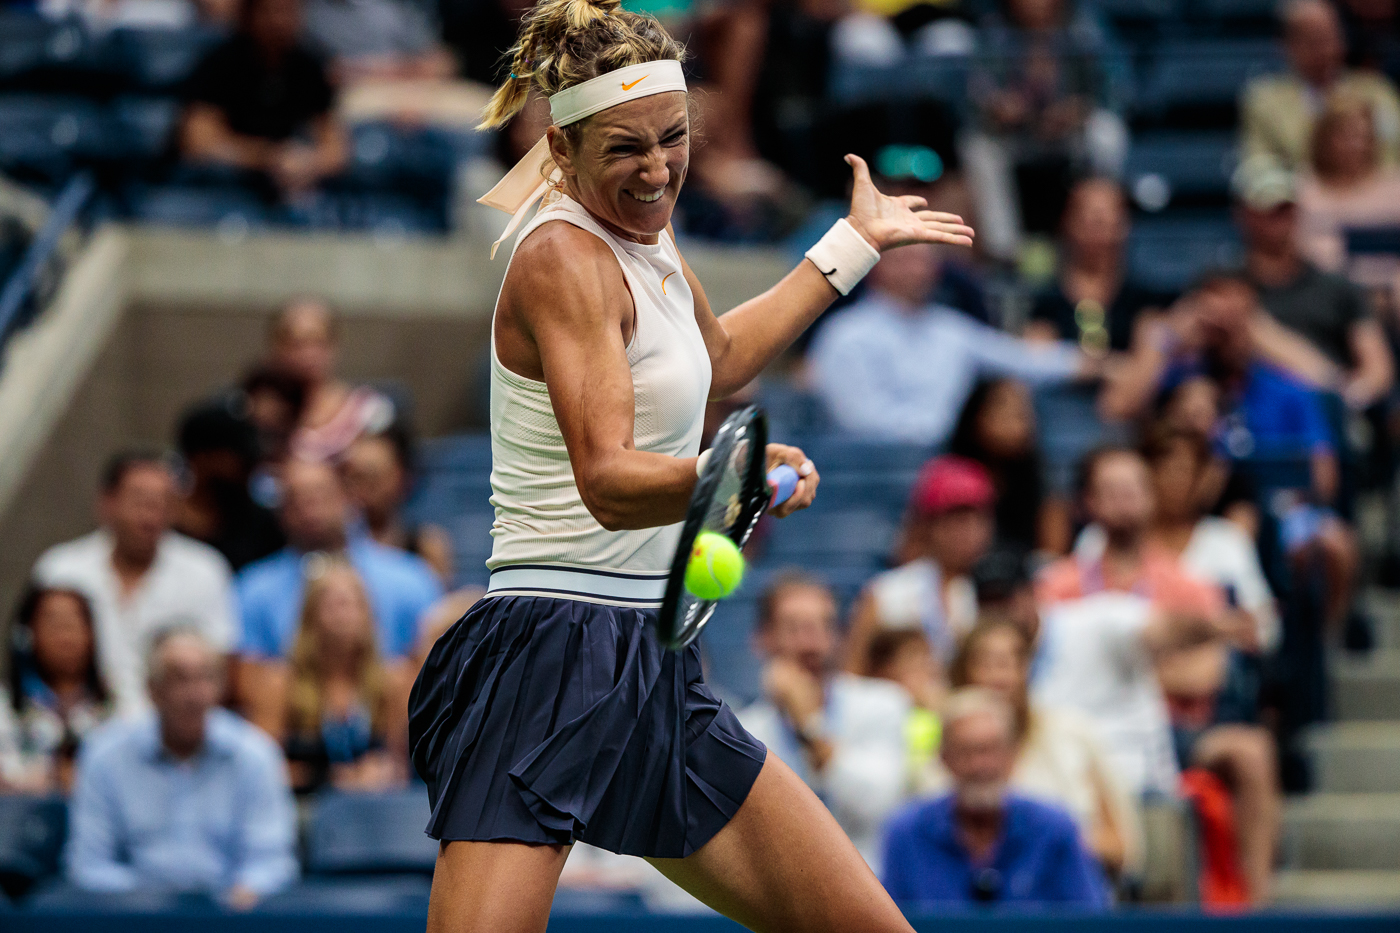
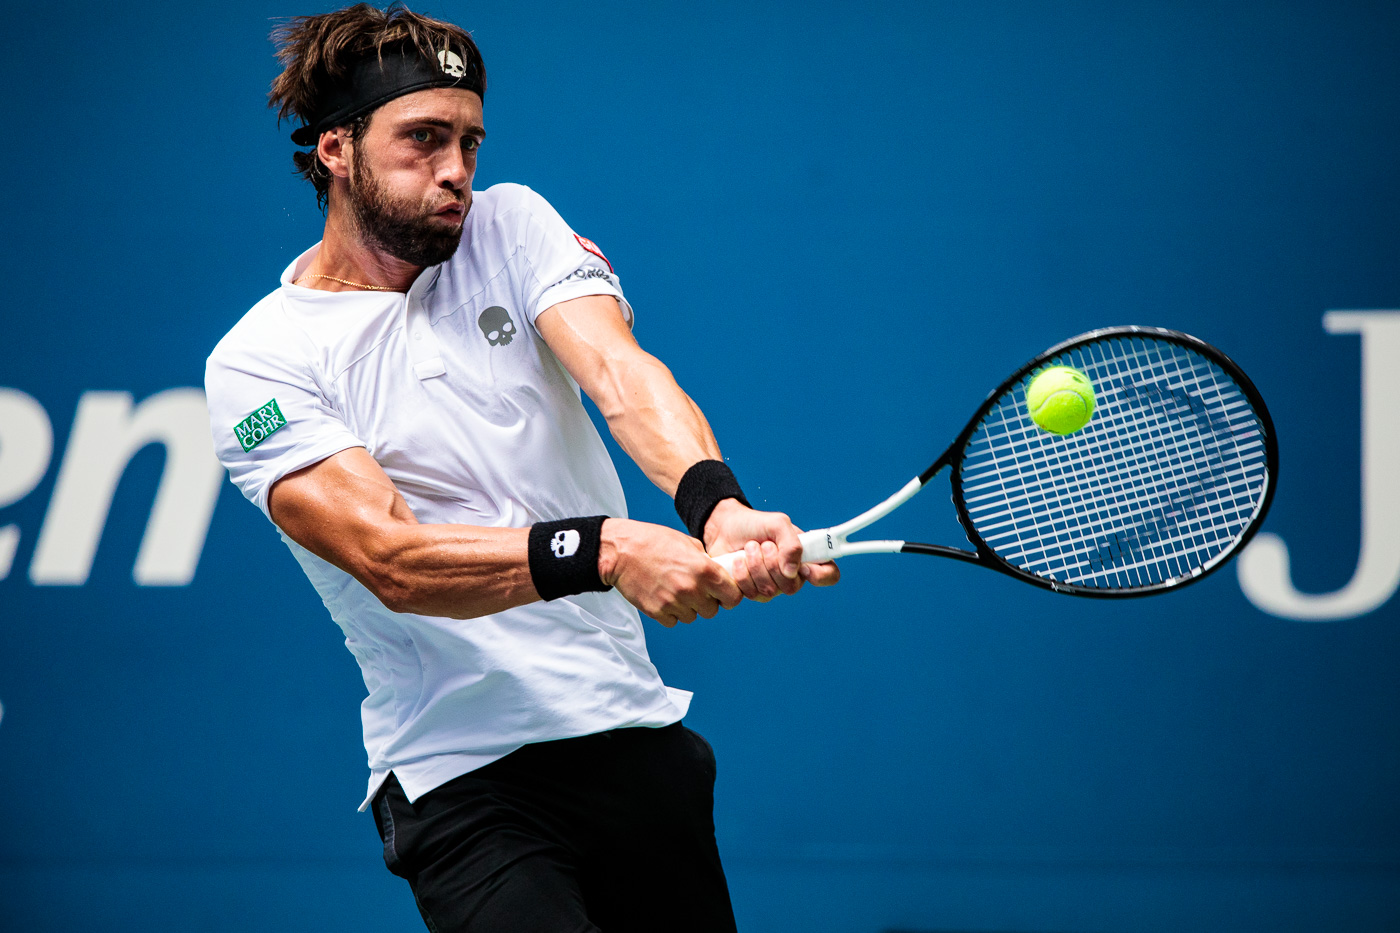
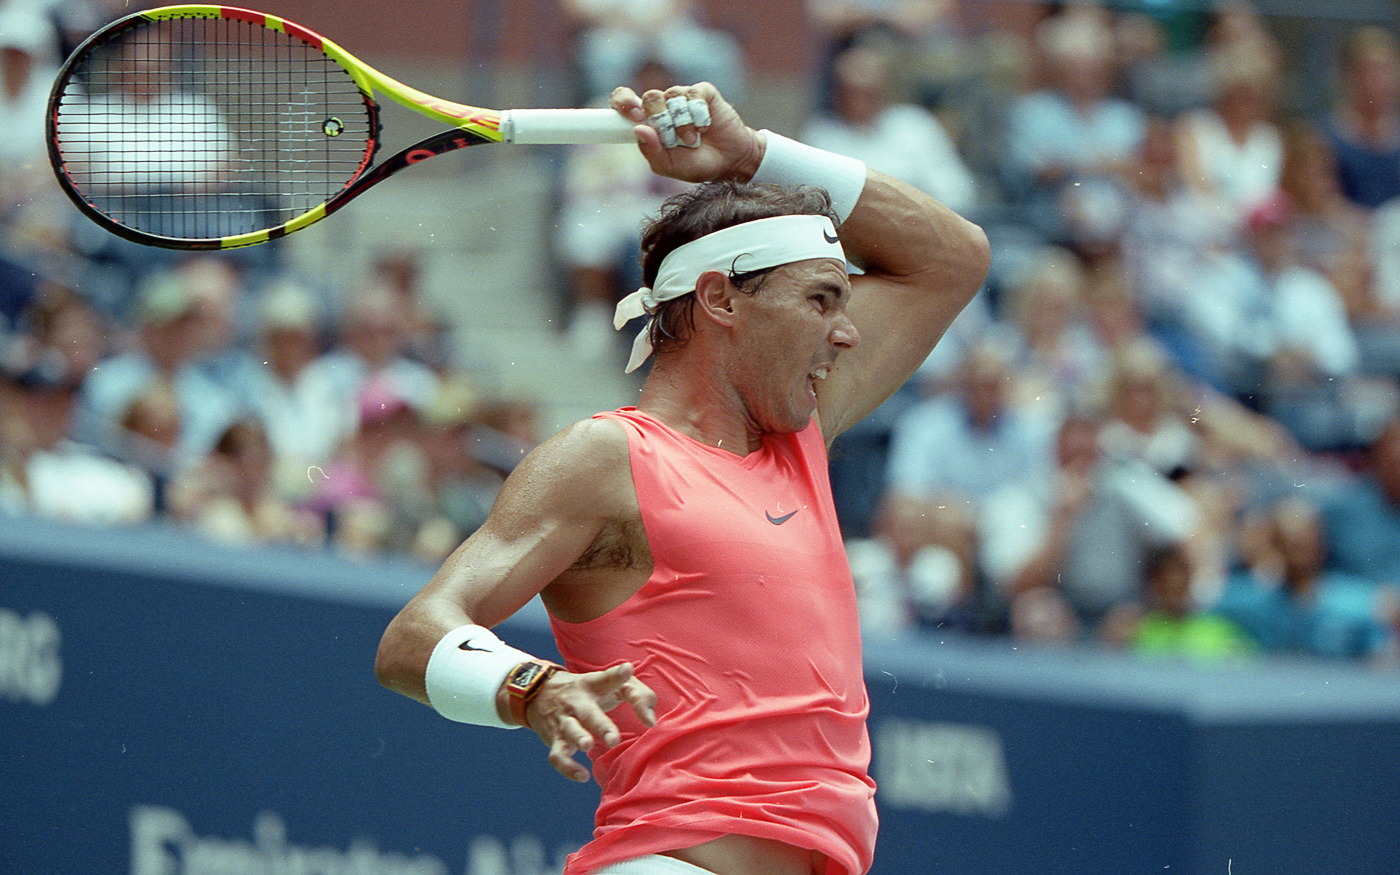
Swing – the swing itself and the ball connecting with the racket. Player’s make some strange faces as they exert themselves so it’s tough to get a decent all-around shot but I thought it was fun when I got the moment the ball was connecting with the racket.
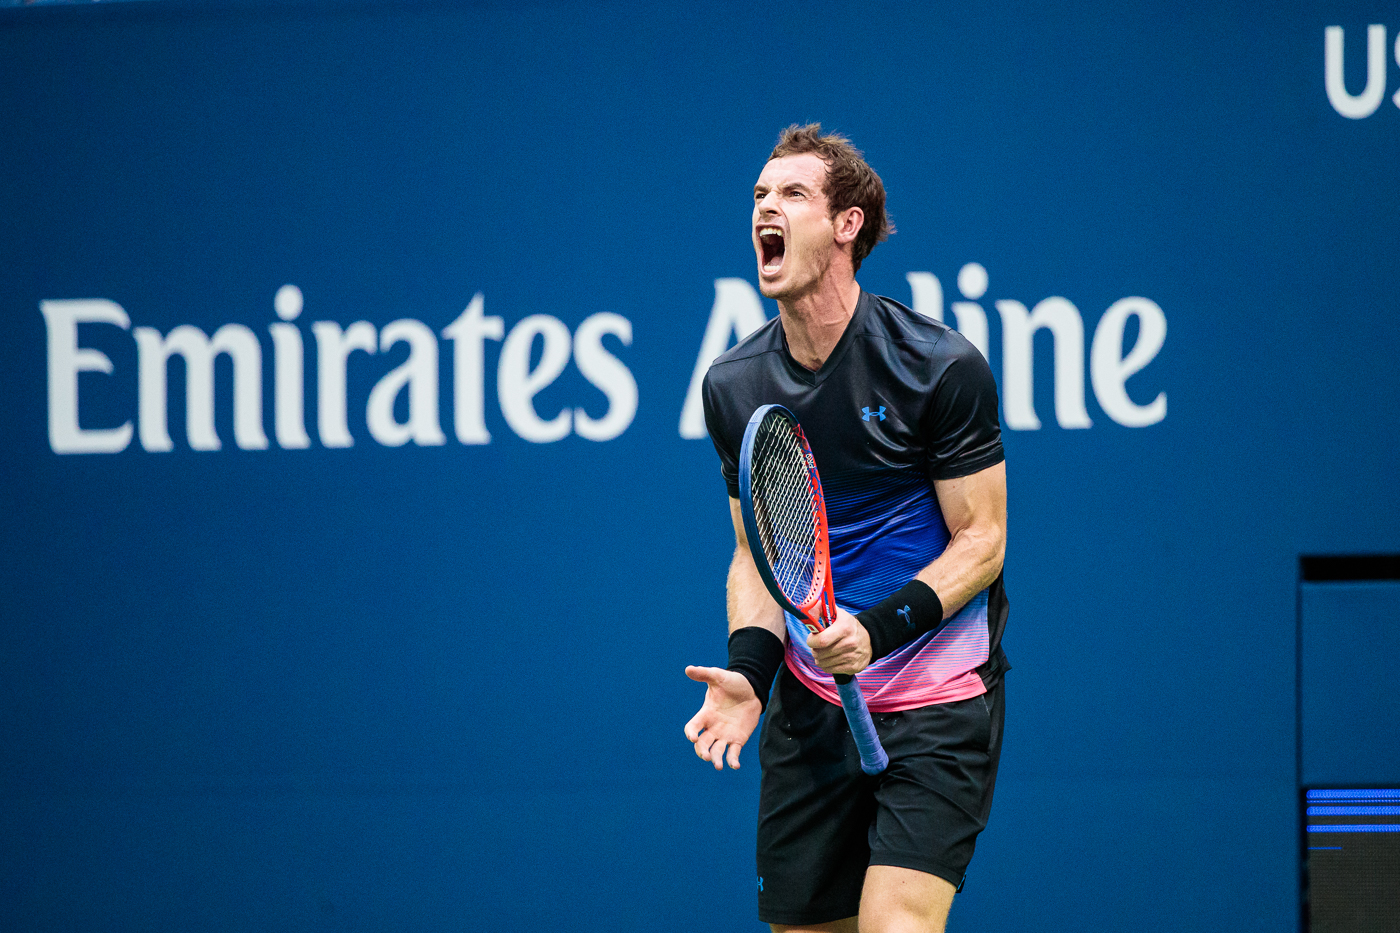
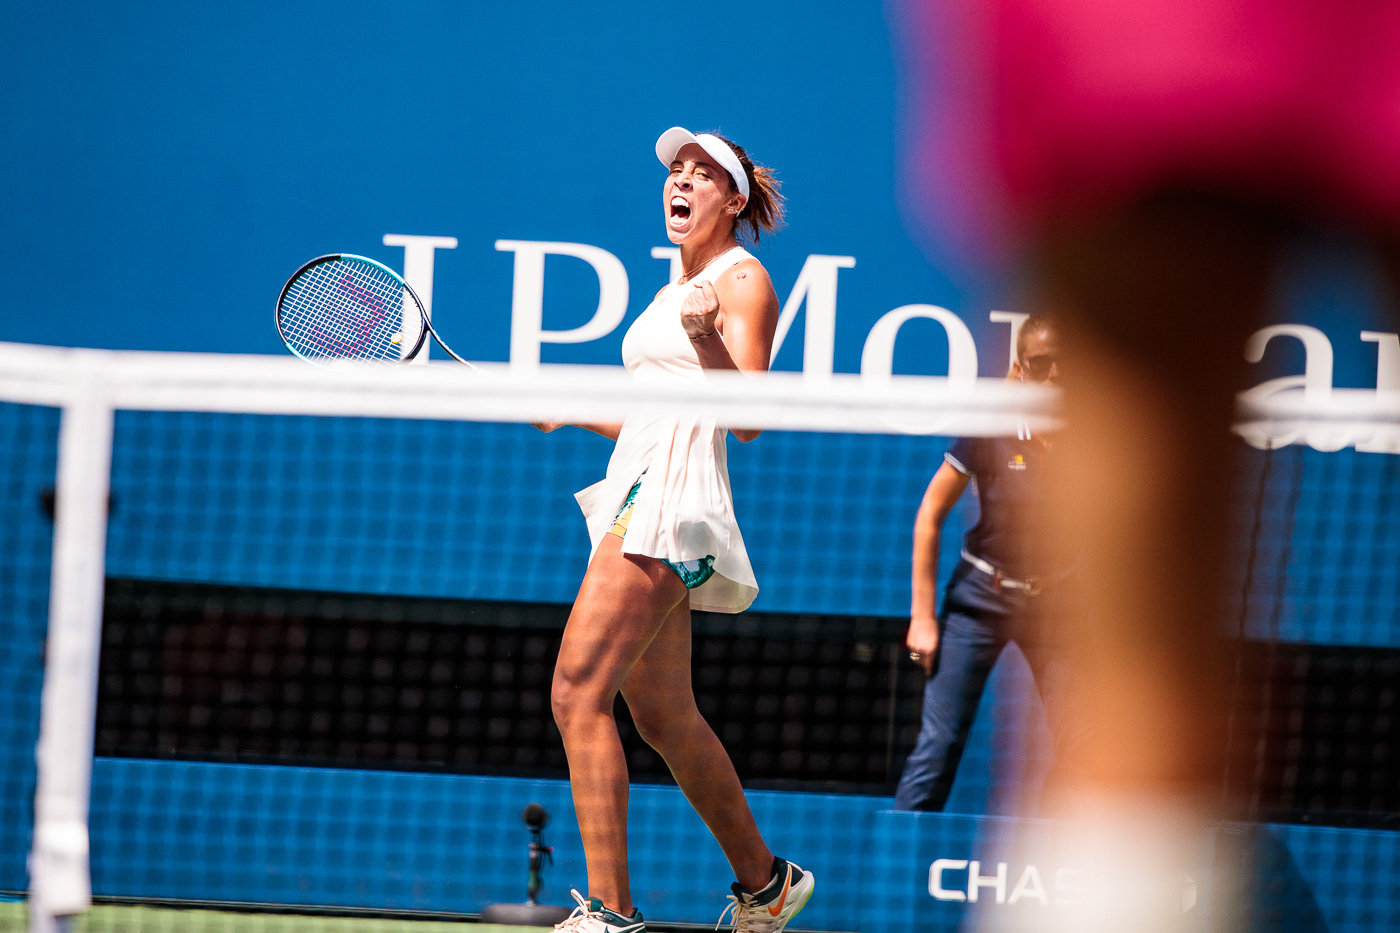
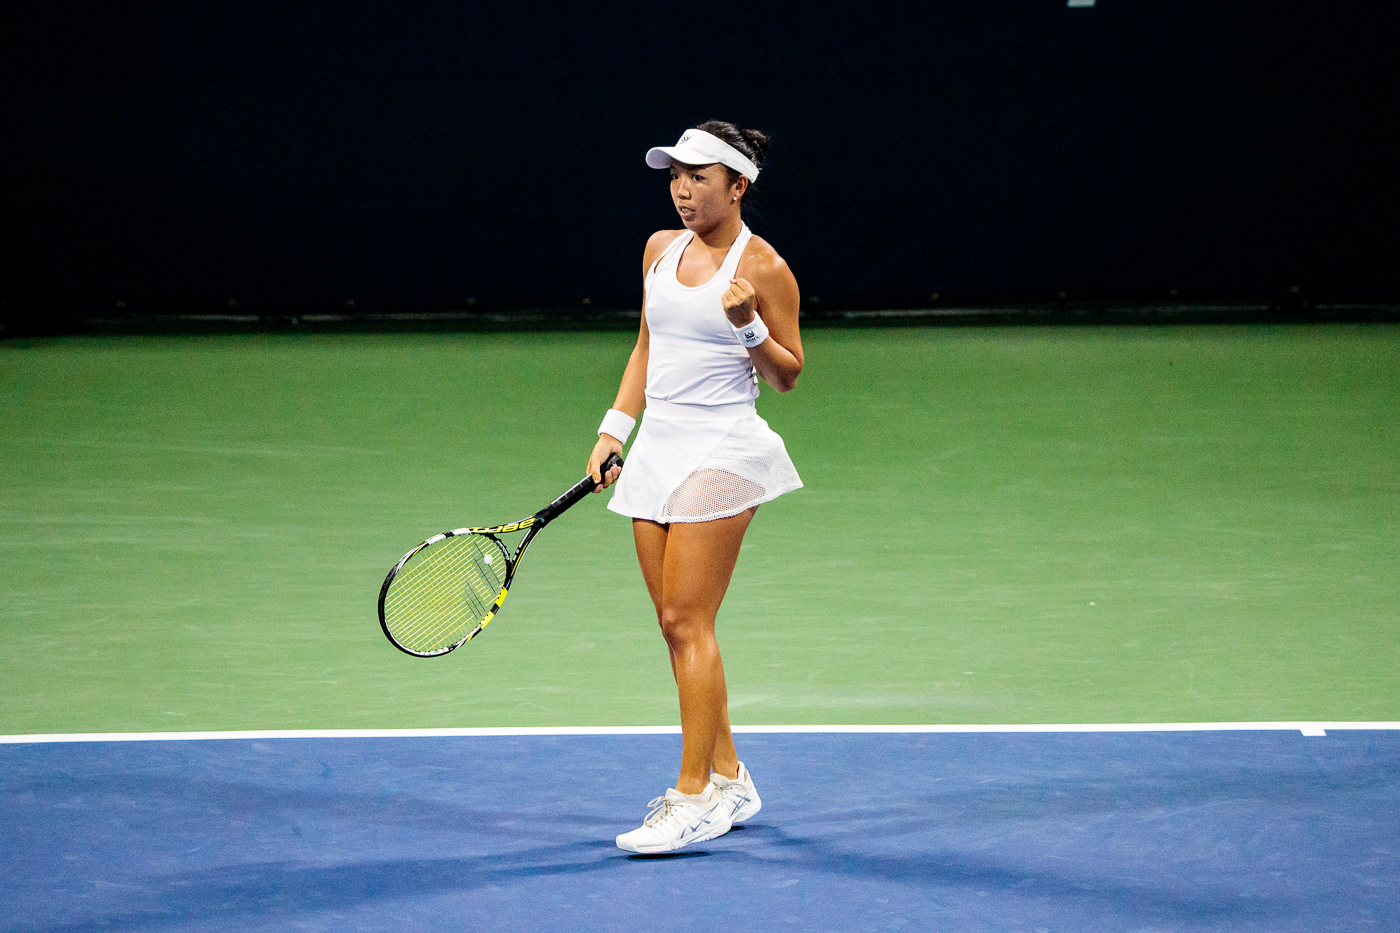
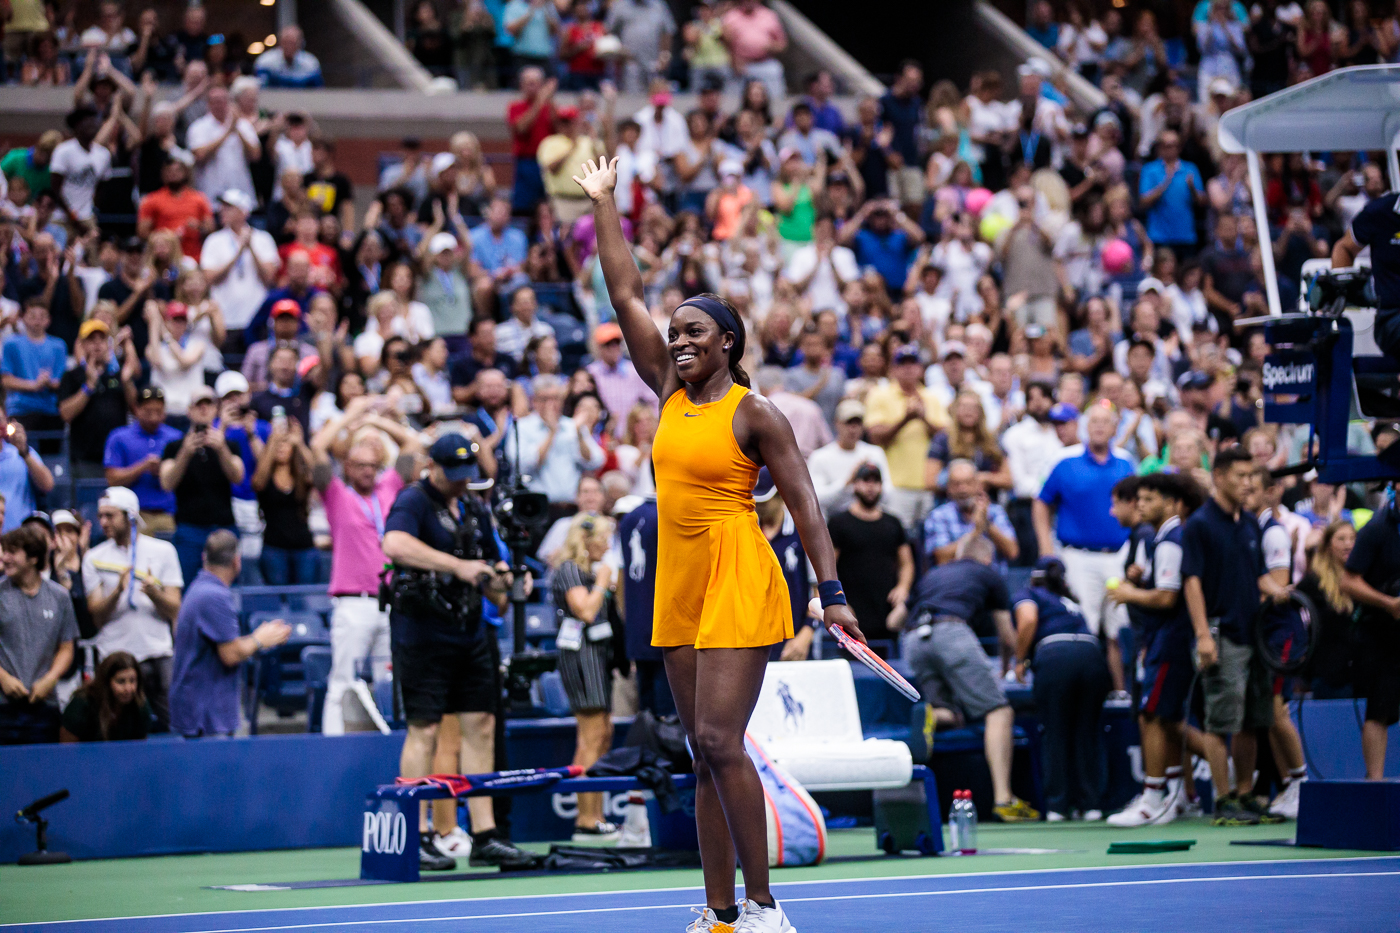
Victory moment – the culmination of a player’s fortitude may result in some great action or expression of jubilation. It connects with the player’s acknowledging the audience’s applause and possibly their hitting some balls into the crowd or signing some autographs for the fans.
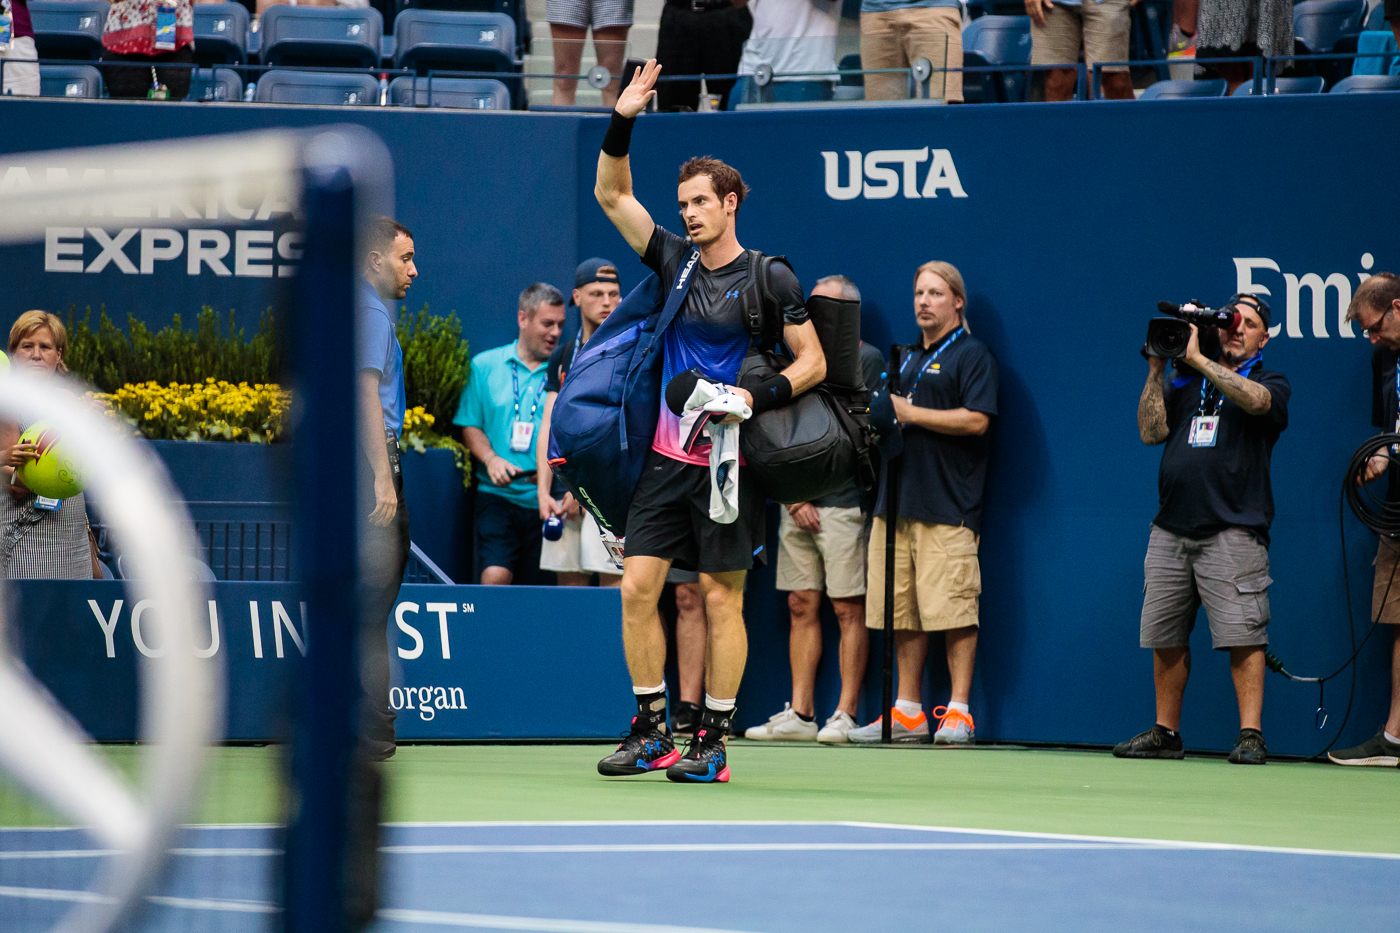
Loss recognition – on the flip side, when the match is over, one player goes home. It isn’t as exciting as a defeat photo but if it is a major player saying goodbye it could be worth a shot. They may wave on their way out.
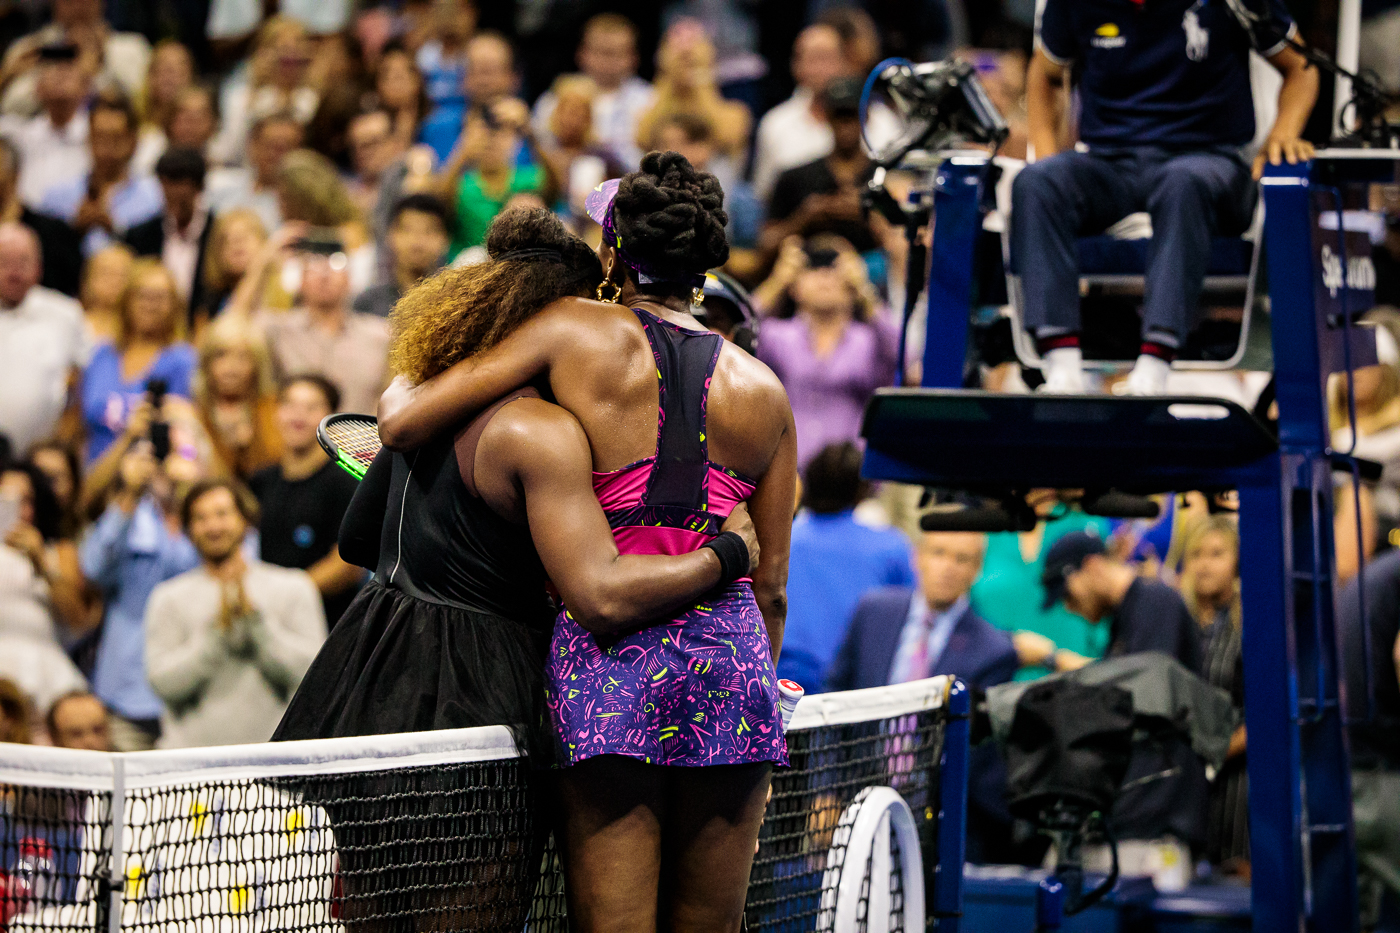
Mutual appreciation – the players congratulate each other at the net when the match is over. It may be possible to get a close up emotional moment of the players, or an especially significant one if its one sister sending the other off.
Artistic shots – I can’t say I got any really neat ones as I didn’t try enough. I did try a double exposure or two and I did play with some shadows on the smaller courts one weekend. I actually was noticing how the sunlight moved on a couple of courts (though I didn’t get above to get the shadow shots.) If it isn’t cloudy, the direct sunlight starts to move off of Arthur Ashe between 2 and 3 pm. On the Grandstand court, the sunlight starts to go around 5 pm.
There are of course many other great photo possibilities but its nice to have some goals.
Some Tips
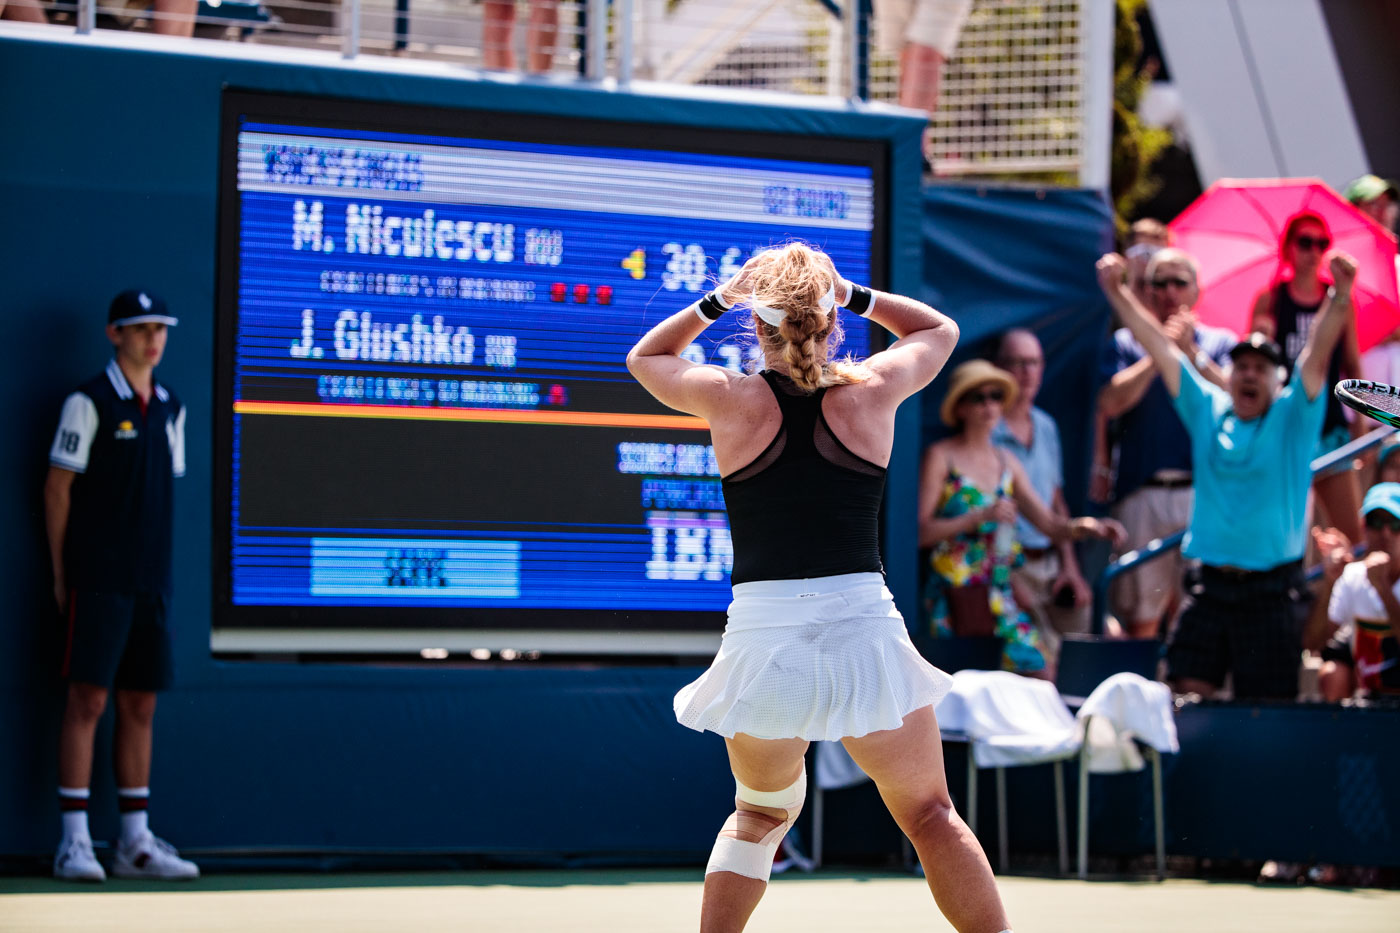
* Although I only did this sporadically, it was valuable to capture the scoreboard at some point during a match. I don’t really know who I was seeing or what court I was on in every instance and at the very least this was a good reference. At best, it may work with a victory moment.
* Take note of the many amenities that the USTA provides. Inside the facilities at Ashe, the press room or the cafeteria for example, announcements were made when players would visit the interview rooms. Shooting positions here seemed to be typically from against the wall there but it was. If you wanna get the inside scoop on what was going on in a player’s head or just wanna see them off, stop by.
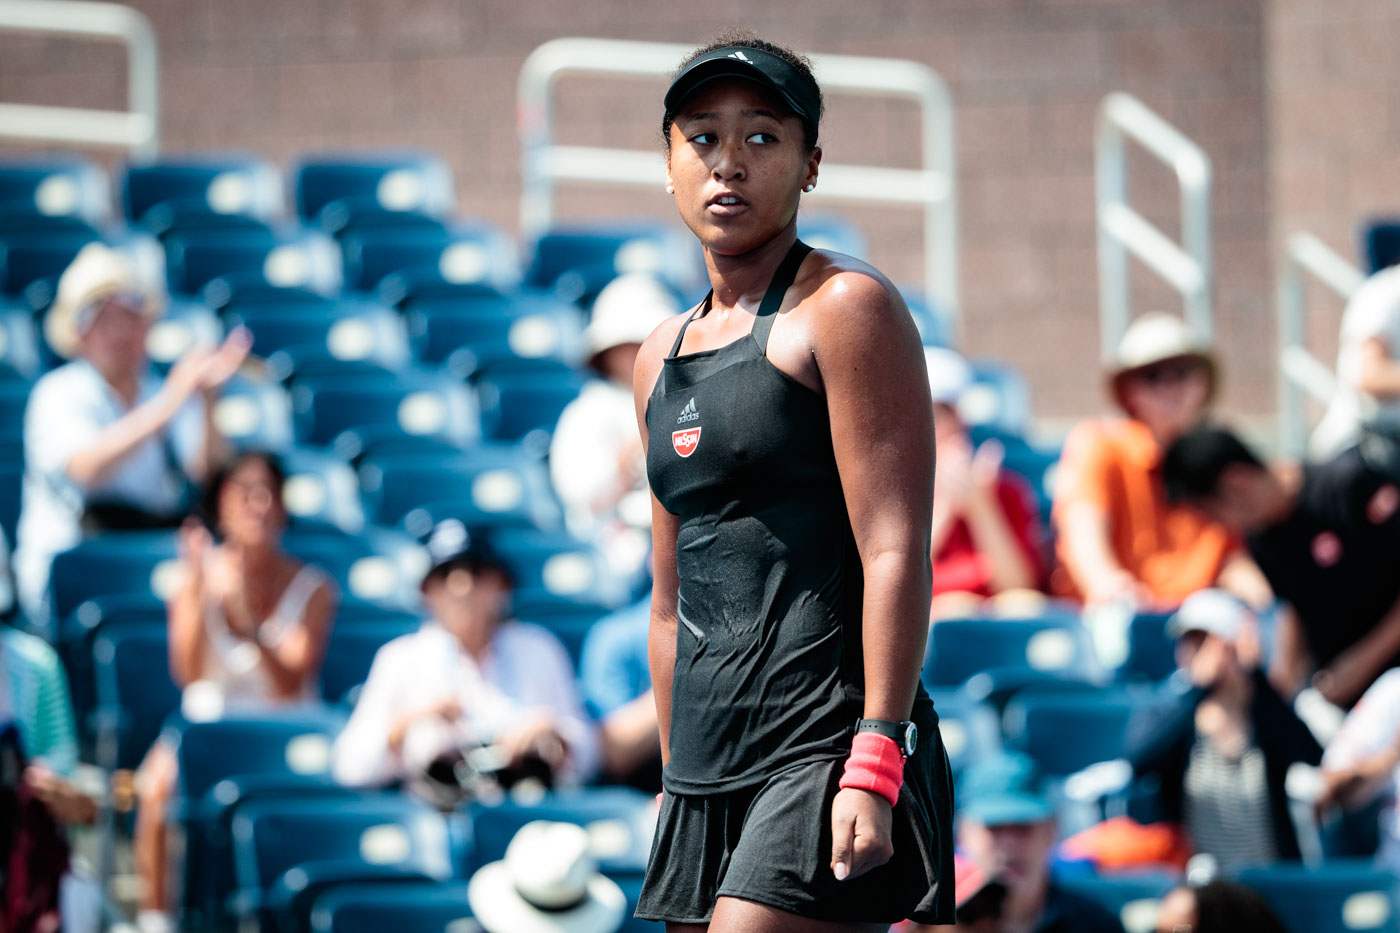
* Shoot at all the courts. I didn’t commit to the full length of a day and I was mostly there on days Nadal played (by chance). I only captured the 2018 women’s champion Naomi Osaka on her first day by chance.
* Be flexible. The monopod I bought was definitely worth owning/bringing for stability when standing. However, it got a bit complicated sitting in the photo pits when I wanted to change lenses / bodies. Perhaps I need to learn to collapse it faster but I found myself not using it (hand holding the 200-400mm) toward the end of my week when sitting. I didn’t want to collide it into anyone or anything when I was switching things up and I’m not consistently holding the lens so it worked. I had freedom to move.
* Be loose. I didn’t always aim for the best shots. I shot some film. There’s a lot of direct sunlight. Burst-fire may result in fun animated .gifs.
* Drink a Honeydeuce. They’re delicious.
Still Unbelievable
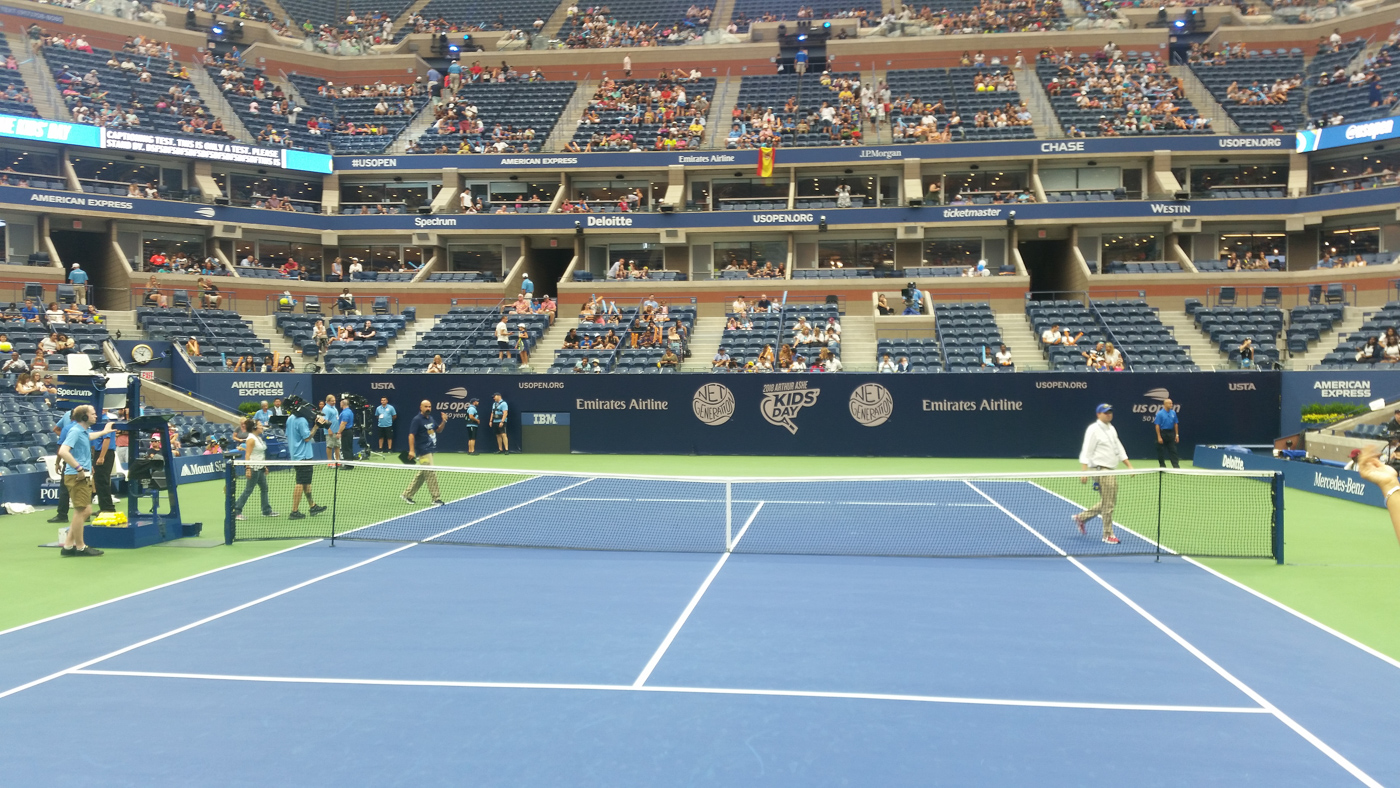
I went to the US Open for six of the first seven days of matches, either for day or evening sessions though not necessarily both in the same day. Cumulatively, I would estimate I spent at least 20 hours there. I also attended the Live Draw at Brookfield Place before the tournament, Arthur Ashe Kids Day, in part to familiarize myself with the grounds and in part to have the opportunity to set foot on the court at Ashe and the Opening Ceremony to see the kickoff including performances from Maxwell and Kelly Clarkson.
Kudos to the USTA for providing so much support to media and photographers including a daily allowance at the air-conditioned cafeteria. I also had a locker in the main press room where I could stash my loaner gear (there were larger lockers in the photo area as well). Big thanks to Canon for providing me with the best gear available. And thanks to Rick Rennert, the USTA and Abrams for collaborating on a great book, and trusting me with a media badge.
I hope to be able to attend again. It was thrilling to be so close to such great athletes, exciting to hone my photo skills outside of concerts and fun to make good photos.